QuickAccess MENU
Your flexible side navigation
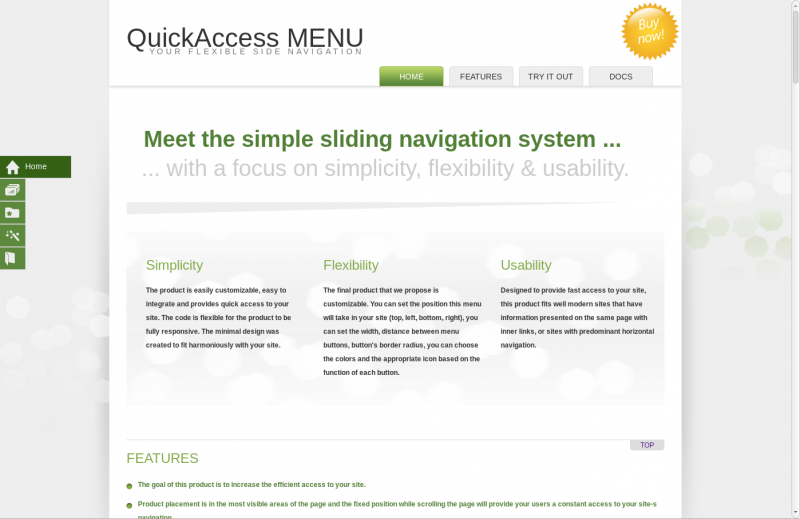
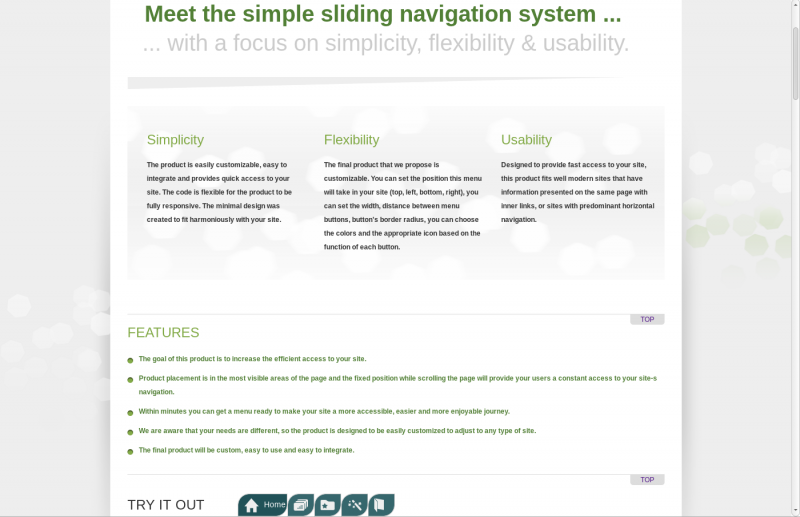
Meet the simple sliding navigation system ...
... with a focus on simplicity, flexibility & usability.
-
Simplicity
The product is easily customizable, easy to integrate and provides quick access to your site. The code is flexible for the product to be fully responsive. The minimal design was created to fit harmoniously with your site.
-
Flexibility
The final product that we propose is customizable. You can set the position this menu will take in your site (top, left, bottom, right), you can set the width, distance between menu buttons, button's border radius, you can choose the colors and the appropriate icon based on the function of each button.
-
Usability
Designed to provide fast access to your site, this product fits well modern sites that have information presented on the same page with inner links, or sites with predominant horizontal navigation.
Watch the video guide
Features
- Within minutes you can get a menu ready to make your site a more accessible, easier and more enjoyable journey.
- We are aware that your needs are different, so the product is designed to be easily customized to adjust to any type of site.
- The goal of this product is to increase the efficient access to your site.
- The final product will be custom, easy to use and easy to integrate.
- Product placement is in the most visible areas of the page and the fixed position while scrolling the page will provide your users a constant access to your site-s navigation.
Try it out
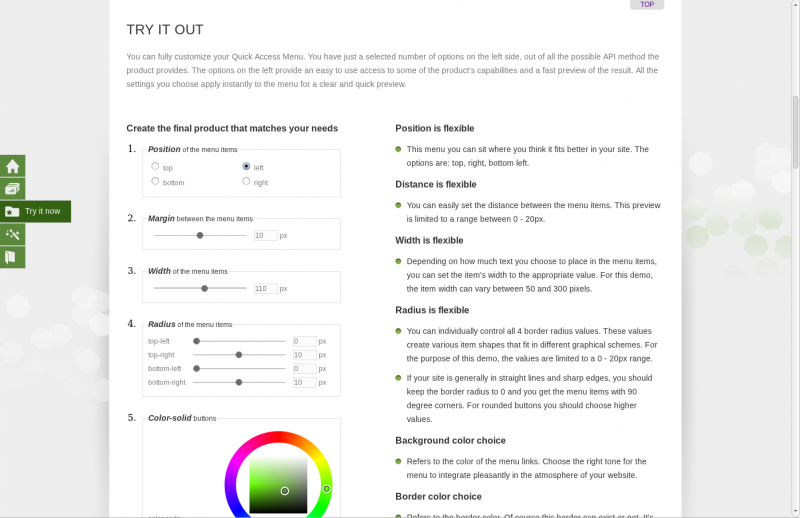
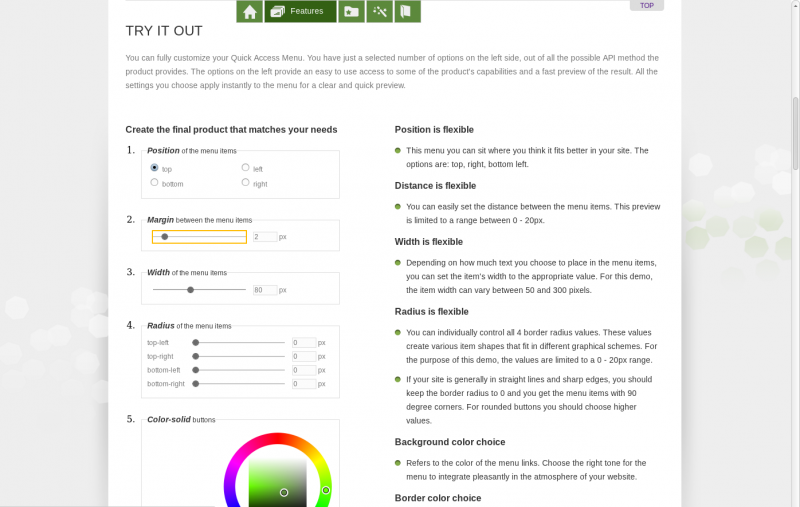
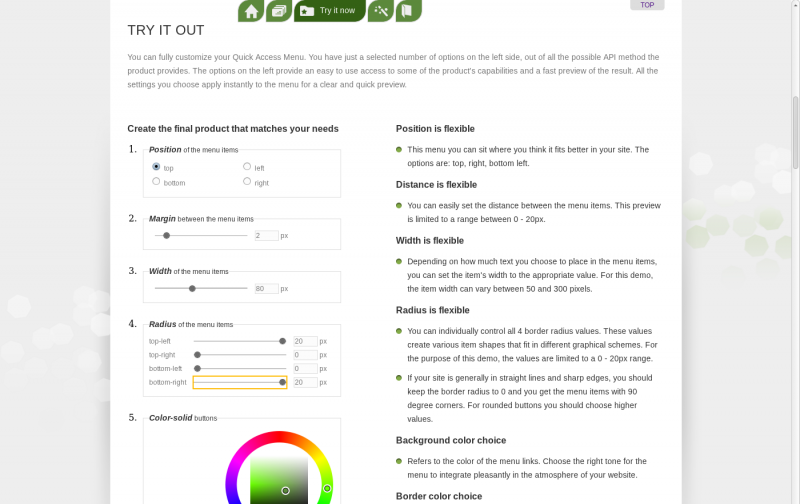
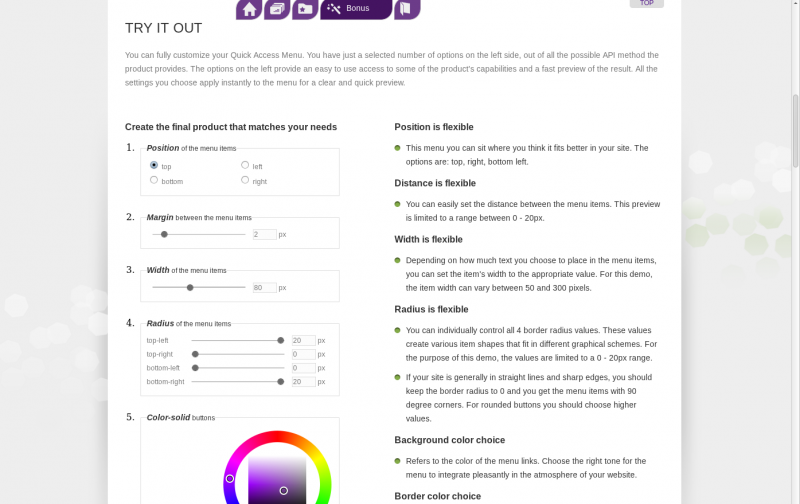
You can fully customize your Quick Access Menu. You have just a selected number of options on the left side, out of all the possible API method the product provides. The options on the left provide an easy to use access to some of the product's capabilities and a fast preview of the result. All the settings you choose apply instantly to the menu for a clear and quick preview.
Position is flexible
- This menu you can sit where you think it fits better in your site. The options are: top, right, bottom left.
Distance is flexible
- You can easily set the distance between the menu items. This preview is limited to a range between 0 - 20px.
Width is flexible
- Depending on how much text you choose to place in the menu items, you can set the item's width to the appropriate value. For this demo, the item width can vary between 50 and 300 pixels.
Radius is flexible
- You can individually control all 4 border radius values. These values create various item shapes that fit in different graphical schemes. For the purpose of this demo, the values are limited to a 0 - 20px range.
- If your site is generally in straight lines and sharp edges, you should keep the border radius to 0 and you get the menu items with 90 degree corners. For rounded buttons you should choose higher values.
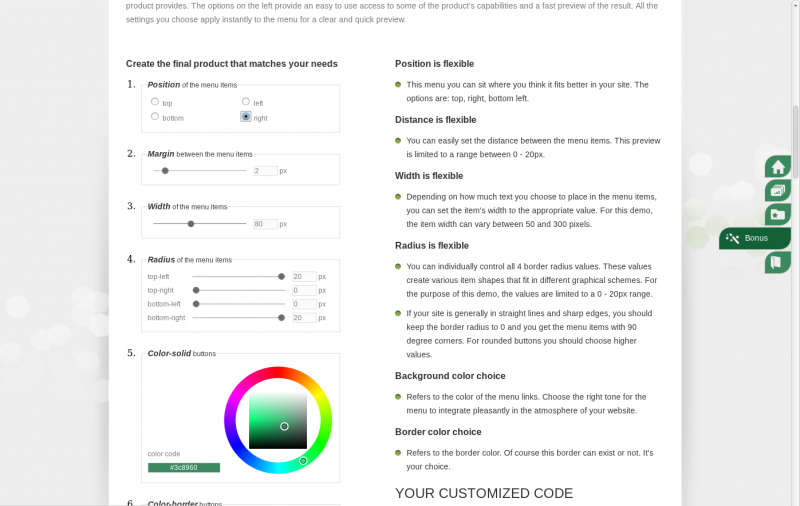
Background color choice
- Refers to the color of the menu links. Choose the right tone for the menu to integrate pleasantly in the atmosphere of your website.
Border color choice
- Refers to the border color. Of course this border can exist or not. It's your choice.
Bonus: a set of ready to use icons
High Quality Code
Menu styles are CSS-driven
jQuery enhanced
Degrades gracefully when JavaScript is not present
Screenshots


Support
We offer support via the QuickAccess MENU forum in Codecanyon or directly via email on the getfresh author page.
Documentation
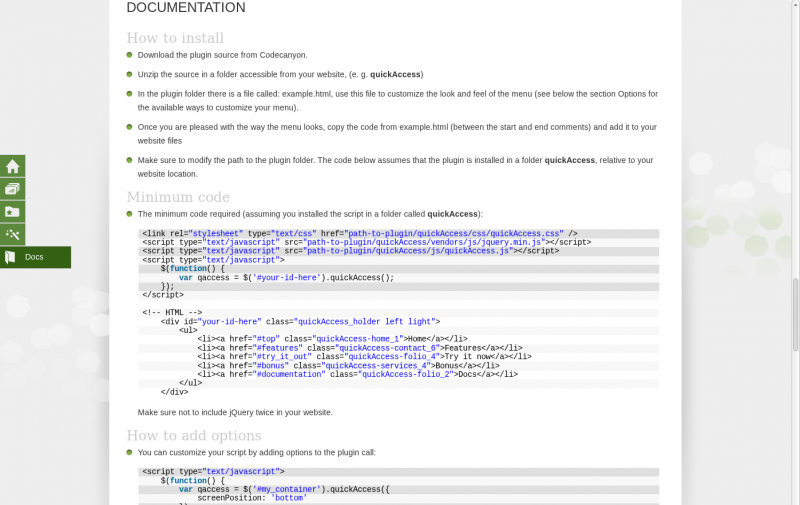
How to install
- Download the plugin source from Codecanyon.
- Unzip the source in a folder accessible from your website, (e. g. quickAccess)
- In the plugin folder there is a file called: example.html, use this file to customize the look and feel of the menu (see below the section Options for the available ways to customize your menu).
- Once you are pleased with the way the menu looks, copy the code from example.html (between the start and end comments) and add it to your website files
- Make sure to modify the path to the plugin folder. The code below assumes that the plugin is installed in a folder quickAccess, relative to your website location.
Minimum code
-
The minimum code required (assuming you installed the script in a folder called quickAccess):
Make sure not to include jQuery twice in your website.<link rel="stylesheet" type="text/css" href="path-to-plugin/quickAccess/css/quickAccess.css" /> <script type="text/javascript" src="path-to-plugin/quickAccess/vendors/jquery.min.js"></script> <script type="text/javascript" src="path-to-plugin/quickAccess/js/quickAccess.min.js"></script> <script type="text/javascript"> $(function() { var qaccess = $('#your-id-here').quickAccess(); }); </script> <!-- HTML --> <div id="your-id-here" class="quickAccess_holder left light"> <ul> <li><a href="#top" class="quickAccess-home_1">Home</a></li> <li><a href="#features" class="quickAccess-contact_6">Features</a></li> <li><a href="#try_it_out" class="quickAccess-folio_4">Try it now</a></li> <li><a href="#bonus" class="quickAccess-services_4">Bonus</a></li> <li><a href="#documentation" class="quickAccess-folio_2">Docs</a></li> </ul> </div>
How to add options
-
You can customize your script by adding options to the plugin call:
In the code above we added the option: screenPosition, with the value: bottom.<script type="text/javascript"> $(function() { var qaccess = $('#my_container').quickAccess({ screenPosition: 'bottom' }); }); </script>
The plugin has multiple options, listed at: Available Options. You can also use the wizard at Try it out for some option examples and just copy and paste the resulting code.
Available Options
The following options can be added to the plugin call:
-
The option screenPosition sets where the menu will be displayed on the page.
screenPosition: 'left' // available options: top, left, right, bottom -
The option width sets how much the menu item will slide on mouse over. You need to set a value in accordance with the amount of text you write in your links.
width: '150px' -
The option css sets the style of the menu container. This is a very versatile option, as you can fully customize and change the appearance of the menu only by using this option. Almost all CSS attributes are possible values for this option.
css: { position: 'fixed' } -
The option itemCss sets the style of the menu items. As with css, this is also a versatile option, as you can fully customize and change the appearance of the menu items only by using this option. Almost all CSS attributes are possible values for this option.
itemCss: { 'backgroundColor': '#FFFFFF', 'borderWidth': .5, 'borderColor': '#333333', 'borderStyle': 'solid', color: '#777' } -
The option margin sets the distance between the menu items. If you set it to 0, the menu will appear compact. If you set it above 0, the menu will appear as a collection of items with a margin between them.
margin: '10px' -
The option radius sets the roundness for each corner separately. Set this value in accordance with your website's design.
radius: { borderTopLeftRadius: 0, borderTopRightRadius: 10, borderBottomLeftRadius: 0, borderBottomRightRadius: 10 } -
The option change sets the callbacks that will be triggered when the menu changes. This give you the possibility to write your own code that runs every time the menu is modified. All values passed for this option must be valid callbacks.
change: [function1, function1]
Using the API
-
You can interact with the menu plugin even after it has been initialized, via API calls.
In the code above we added the option: screenPosition, with the value: bottom.<script type="text/javascript"> qaccess.changePosition('top'); // this changes the menu position to "top" // assuming "qaccess" is the reference to a menu instance on the page </script>
The plugin has multiple options, listed at: Available Options. You can also use the wizard at Try it out for some option examples and just copy and paste the resulting code.
API Options
The following options can be be used as API calls, to interact with a menu instance after the page has loaded:
-
The method qaccess.changePosition sets the position of the menu holder; possible values are: top, right, bottom, left.
qaccess.changePosition('left'); -
The API method qaccess.setOption lets you modify the plugin options. Note that you also need to trigger the change in behavior, e. g. with qaccess.applyCss.
qaccess.setOption({width: 100+'px'}); qaccess.applyCss(); -
The API method qaccess.applyCss reaplies the menu styles. This is useful if you change any of the menu CSS properties and wish to apply them to the menu instance.
qaccess.setOption({width: 100+'px'}); qaccess.applyCss(); -
The method qaccess.getOption retrieves an option value from the plugin instance.
qaccess.getOption(width); -
The method qaccess.fireChange allows you to trigger all plugin instance observers and inform them that the instance has changed.
qaccess.fireChange(); -
The option qaccess.setContainerClass allows you to add CSS classes to the menu container. For example, if you change the container class to: light, medium_dark or dark, your menu will be using the corresponding set of icons.
qaccess.setContainerClass(icon_class);